
For the Love of Meat
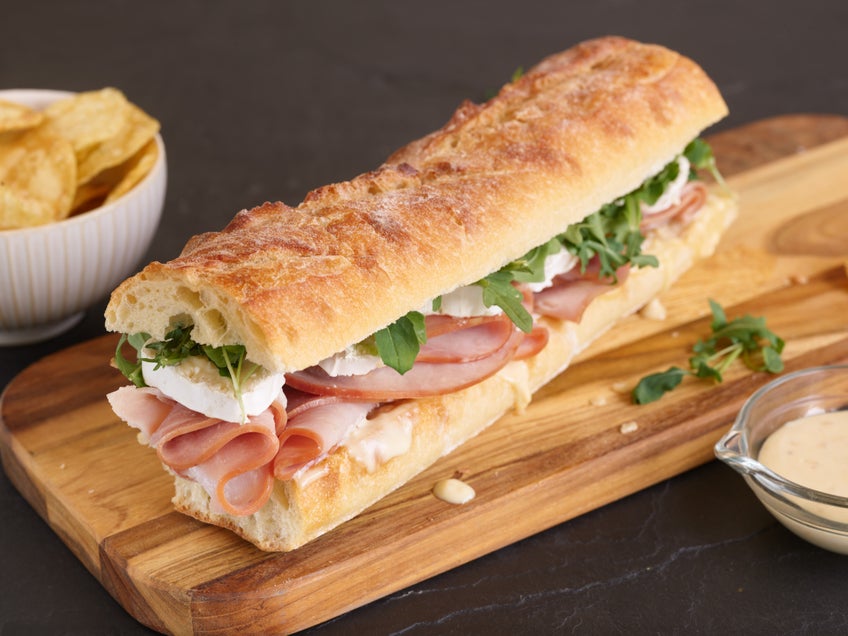
Smithfield is the leading provider of premium pork products, offering the most important part of any meal: premium, high-quality meat. The rest of the meal is just a side dish. We take our meat duties seriously, which is why we’ve been around over 85 years.
Founded in 1936 in Smithfield, Virginia, Smithfield was created by people who lived for the love of meat. Today, we bring artistry, authenticity, and pure love to the production of America’s favorite foods—everything from bacon, slow-smoked holiday hams, and hand-trimmed ribs to marinated tenderloins, smoked meats, and more meaty goodness. We currently service retail, foodservice, and deli channels across the U.S. and 30 countries abroad. All Smithfield meat products meet the highest quality and safety standards in the industry and come directly from farms right here in the U.S.
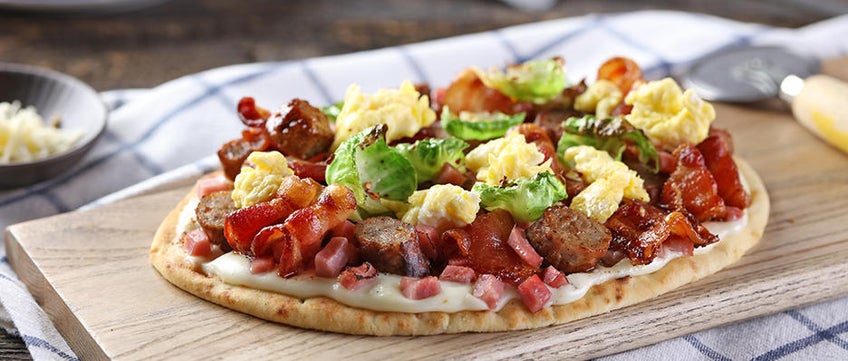
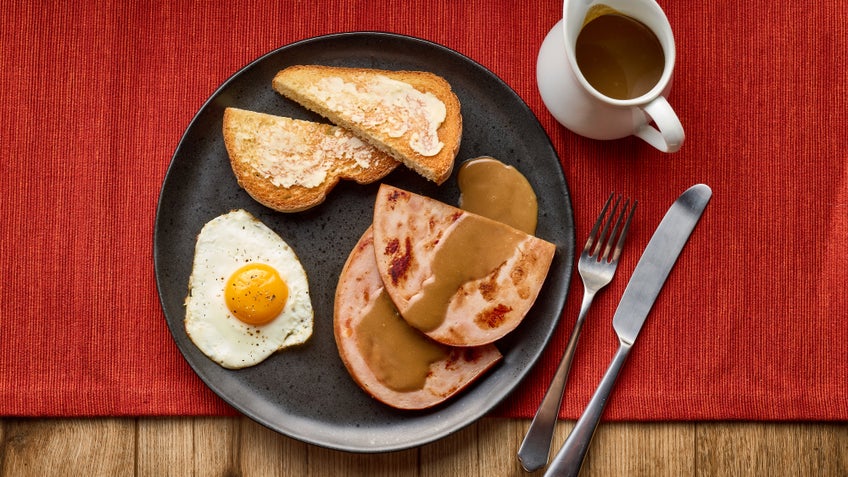
So go on, add some crispiness to your favorite breakfast plate. Seize the day with sausage links and patties that'll wake up your taste buds. Ham it up with some Anytime Favorites Ham Steaks. Breakfast the way you should breakfast, with Smithfield.
Featured Products


Seasonal Recipes

Follow us on social media

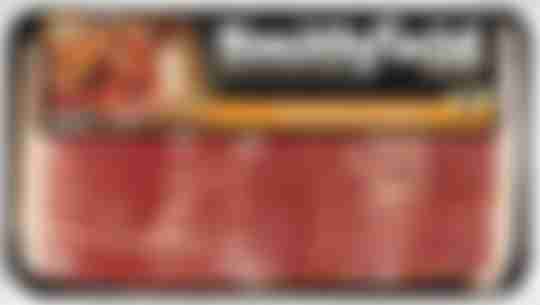
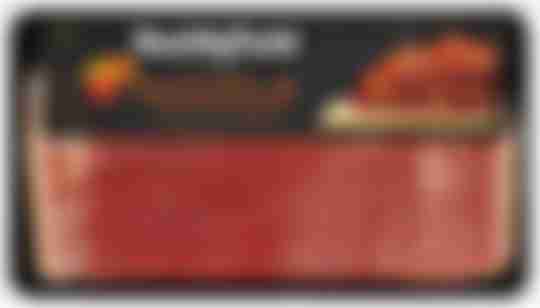
Bacon just got better.
Introducing Smithfield Premium Bacon. Our packs of premium thick cut bacon are smoked longer, sliced thicker, and expertly seasoned to perfection. They'll take your bacon love to a whole new level.


Calling all meat lovers.
Is Bacon a Way of Life? Join the club...The Friends & Family club that is.
Sign up today for delicious recipes, simple meal planning, shopping list creation, and exclusive emails. So what are you waiting for, meat lover?